
 |
| First Light |
I'm teaching a lot this year and haven't had much time to make quilts - but I needed another project for a class so I came up with this - I'm calling it First Light because I have a dark sunset project with a name Last Light which also has pine trees. (Do I need to put a "Run On Sentence Alert" on that last!?)
 |
| In progress |
If you are familiar with my blog and book this is a process I call Strip Applique. We arrange strips on a fusible knit foundation called Pellon EK 130. Then we press with steam - instant gratification, no piecing required. It's perfect for all day classes because you pretty much make a landscape in 1 day!
 |
| All the strips are arranged |
You slightly overlap the bottom strip so you only have one raw edge to sew up - I use monofilament and a zig zag stitch. Here is my sewing machine setting in case you are interested. I do not create a 'satin' stitch so I lengthen the space between each zig zag and also create a stitch that only zig zags 4-5 threads into the raw edge.
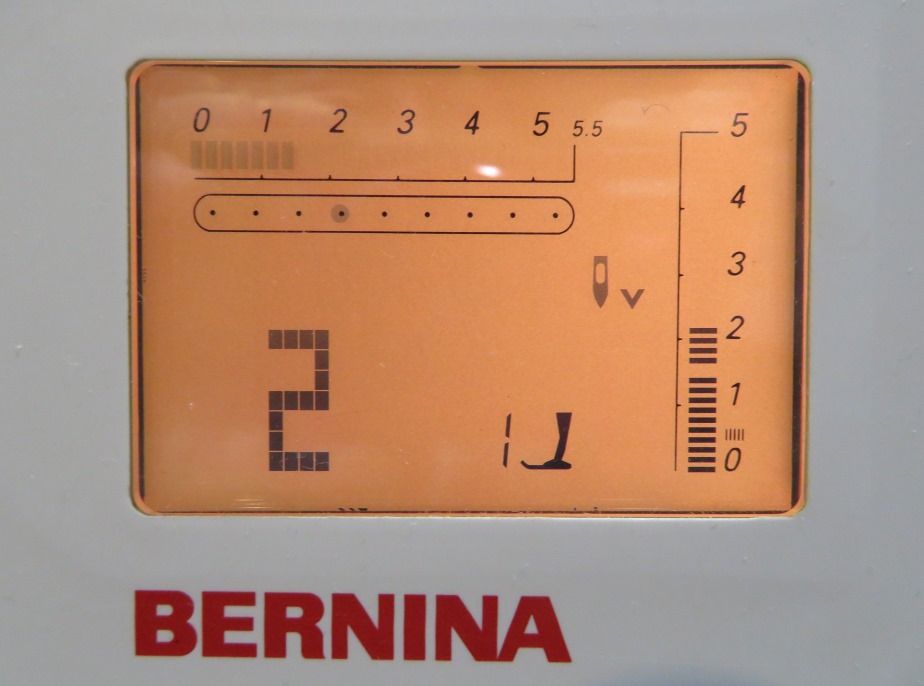 |
| My settings - this is a Bernina 160 by the way |
 |
| Zig Zag - notice how I put the zig into the raw edge and zag into the ditch? |
One way to make this sewing easier is to adjust your needle position. Go back and look at my stitch settings. Do you see how my needle position is adjusted to my left? This enables me to line up my stitches using the center line on my sewing foot, while still zig zagging to the left so my zag is in the ditch.
 |
| Zig Zag done |
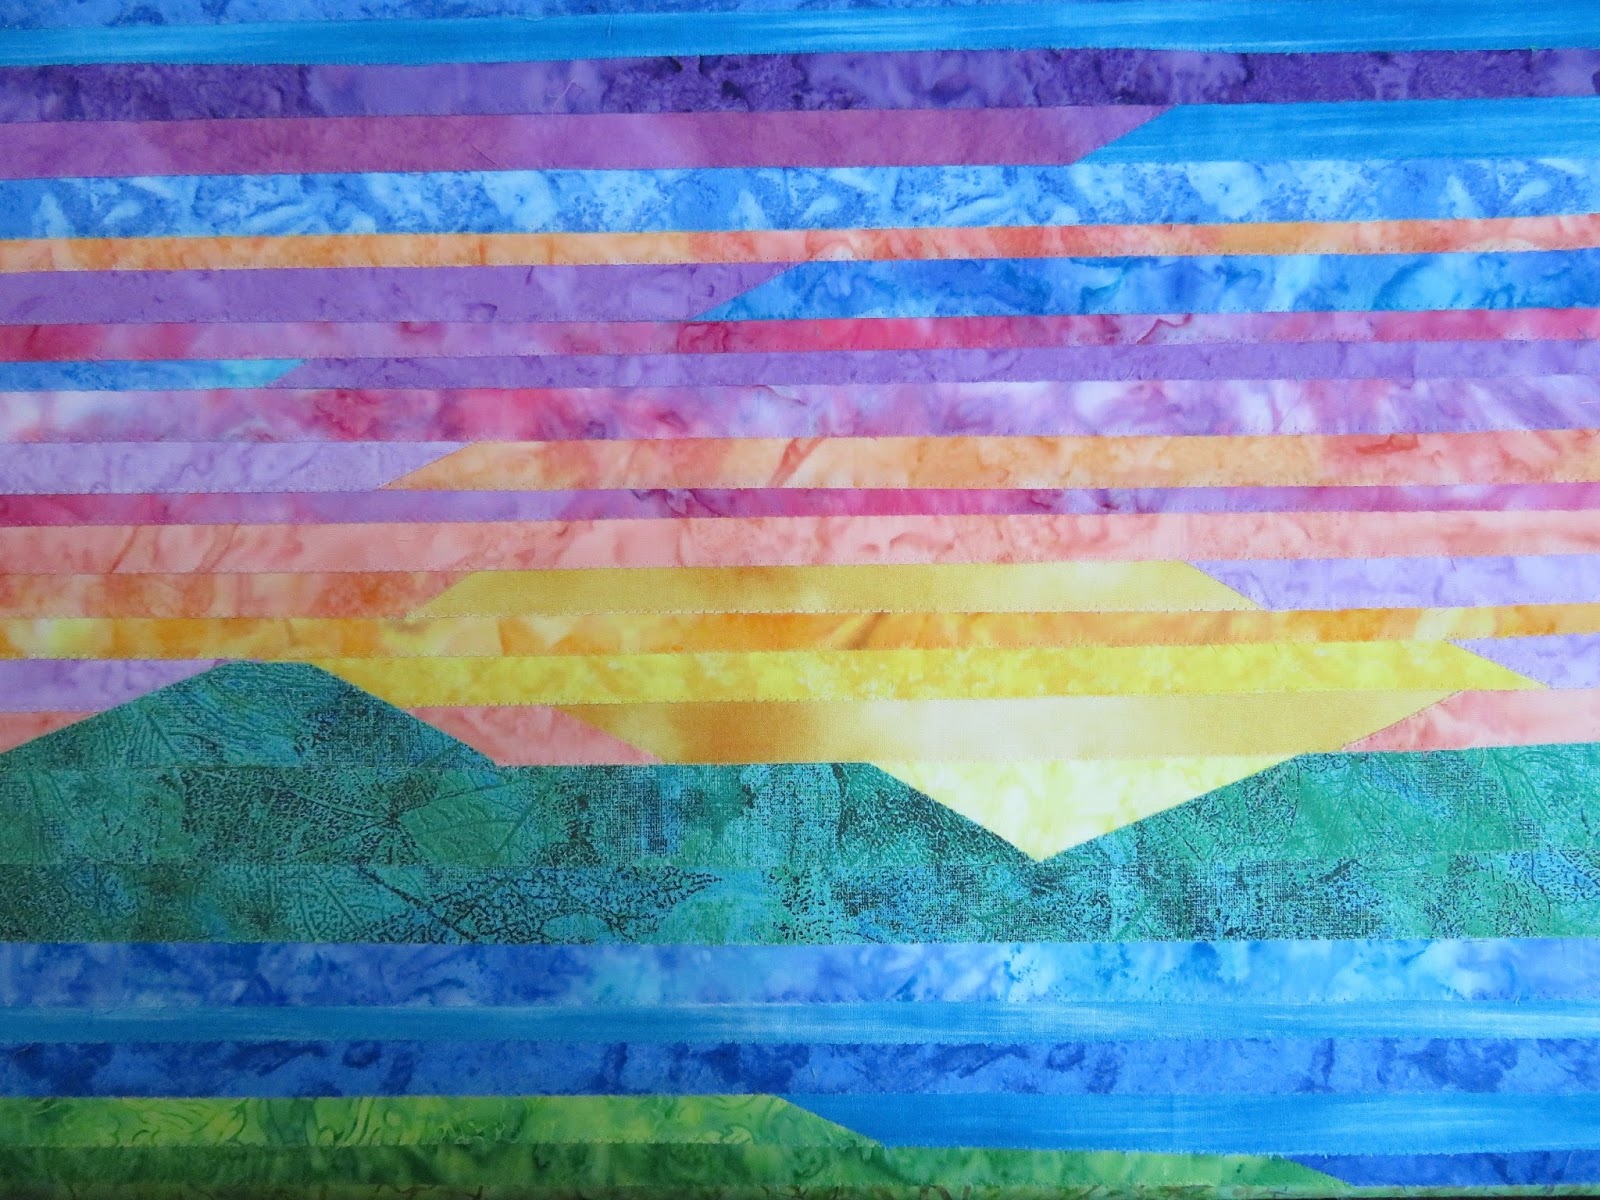
Now to add the pine trees in a dark rich green. These trees are back lit and they need to stand out against the strong colors of the sunrise.
 |
| Done! |
I just fused on the trees. I'll post a pic once the quilting and binding is done.
And now for something completely different - a fish!
 |
| Boesemani Rainbow Fish This is a fish from Indonesia and yes, it is half orange and half blue. Every few years I get a hankering to breed fish and raise babies from eggs. It is challenging to find food small enough for these barely visible babies and produce an environment with clean water for them to grow and find food in. Well I had TONS of these babies and it's taken 2 years for me to finally sell off the last of them. This meant that for the last few years I've had a couple of extra aquariums set up and now that they are gone I can rearrange my sewing room a bit. (Actually, I moved a big entertainment center out of it and put it where my last aquarium was.) I don't have a lot of yardage stash wise. I do however have a lot of small pieces of a bazillion different fabrics. Until now, they've mostly been behind closet doors in my sewing room and digging through them to find the 'right' fabric has been a huge pain. Plus, once I get going on my next quilt - which will be big - I'll need to balance one of those 8 x 4 foot foam insulation panels against those closet doors. Hence, I don't want to have to get into my closets much. I decided I needed wall to wall shelves so I could see everything. Hubby put them up and I piled all my stash on them to see if I had enough room. These shelves are 90 x 16 inches. Here is my stash - |
 |
| Stash Heaps |
I have maybe 10? pieces of fabric more than a yard. When you make landscapes you don't need large pieces of fabric, but you do need lots of little ones so you have the right leaves, grasses, flowers, etc. Plus, now that I'm into strip piecing landscapes, I use mostly batiks and usually only a strip or 2 from each one. This means that I routinely buy 1/4 yard pieces of fabric and no more.
 |
| Close up of my mess! |
How to organize? I decided to organize by type and color. So my 'natural' landscape prints like leaves and bark are stacked by season and size of the leaves. I have a pile of large leaves and a pile of small leaves in both green and fall colors. I put all my floral fabrics together. I also needed to pile the fabrics I don't use as much on the top - these are the scenic prints I've collected over the years. I use them occasionally when I need a particular tree or something, lol.
Here is my stash after 2 days of work.
Big heaping piles slump and there was room for more shelves so I bought 2 more only these were 12 inches not 16. I also didn't have enough room for a few of my piles - like multi color batiks I fell in love with at my local quilt shop but have no idea what I'll do with. (We all love those kinds of fabrics!) And I wanted a special place for hand dyes.
So here is my final fabric wall.
Here is my stash after 2 days of work.
 |
| Organizing - by color, type and value. |
So here is my final fabric wall.
 |
| My stash all organized... |
I have more table space now, too! My sewing room looks so good I almost (ALMOST) don't want to mess it up by diving into a new project. I'll wait until hubby gets home and show him. Then I'll make a mess.
 |
| My sewing room. CLEAN! (Will wonders never cease!) |
Oh bother - see those stackable Tupperware things under my table? They are MORE fat quarters. I still have to organize more fabrics. In case you are wondering what that thing with the hole is under my sewing table - it is a hiding place for Ellie Cat. (She goes in there and spies on me thinking she is being all sneaky.)
 |
| My sewing room |
In case you have a small sewing space like me (my room is 11 x 14 feet), there are some ways to use your space better. I can roll my sewing table back to make more room in front of the aquarium when I'm basting or blocking a bigger quilt on the floor. The closets now hold all my notions and old tree patterns, etc. These were always piled somewhere and looked a mess, now I can't see it and I have table space for working fabrics.
I have one other suggestion. Throw out stuff you'll never use or give it away. Don't hang on to clutter or fabrics or tiny scraps you'll never use. They just hang around and you look at all of it and feel guilty for not using it up. Pitch them. (Can fabric be recycled? Hmm. I'll have to check this out.)
I know lots of quilters hang on to these things and lots make cool little things from all those bits and scraps. I know I won't be doing any such thing for the next 2 years at least so they got the old heave ho. (Accept for extra strips - I saved those for string piecing and have them in a large box where I won't see them until I want to.)
On to my Memphis classes, I taught 2; Strip Applique and Forest Scenes. The first pic shows ladies working on the landscape Sunset with Pink Azaleas which is the hardest one I teach so I make all those students sit together so they can help each other. The second is from Forest Scenes where we painted birch tree trunks and put together a simple landscape.
I taught at the Uncommon Threads Quilt Guild there and I loved that group. They are so much fun and I spent two extra days in Memphis touring around with Quilter and Fiber Master Extraordinaire Mary Lessman. She was a wonderful hostess and I had a blast there.
 |
Memphis Class - Strip Applique and Forest Scenes Classes |
 |
| Dana Lynch's Studio |
While I was in Memphis I met Dana Lynch and got to visit her sewing studio. She is the neatest lady and her space is just wonderful. There was such a sense of peace there and I'm kicking myself for not getting better photographs. She had the neatest mod-podge cabinets and since I have some horrible old white things, I'm going to try my hand at collaging them with modge podge and paper. Someday.
Mary took me out for great food and tours. One of the first places was Gus's. Voted the best fried chicken in the US? Or the World? Or Memphis - can't remember. It was GOOD!
Mary took me out for great food and tours. One of the first places was Gus's. Voted the best fried chicken in the US? Or the World? Or Memphis - can't remember. It was GOOD!
 |
| Best Fried Chicken Ever at Gus's! And there I am with my cell phone camera, lol |
 |
| Gibson Guitar Company Tour |
Mary did get SOME work done while I was there. This was from the other class I taught - Forest Scenes. We painted birch tree trunks and added leaves and branches. Didn't she do a great job?!
 |
| Mary's Autumn Blaze project |
After a big day of touring we needed food - we went to BB King's night club. Great food and great live music. I loved it! I'm eating a shrimp po boy sandwich and only made it through a half. Leftovers were yummy, too.
 |
| At BB Kings Mary is a Master Spinner so I learned a lot about fiber, spinning and weaving. She actually cooked some silk moth cocoons and taught me to 'reel silk'. (Unspin them... you need 11 or 19? different threads and you reel them together as one.) She kept telling me to stop when I'd had enough but I kept winding and winding and those cocoons weren't getting any smaller. Then I found out that there is over a mile of silk in each cocoon. I'd have been reeling all night long if I hadn't stopped. |
 |
| Reeling Silk |
Well, that is it for me. Time to get to work.... I need to fry up some liver for doggy training treats and make soup for dinner tonight. I had a wonderful time with the Uncommon Threads group and Mary if you are reading this THANK YOU AGAIN AND AGAIN!
 |
| I'm an official member of the Tiara Club now. (By the way - it turns out that Mary and I are actually related. One of her cousins married one of my cousins. Isn't that neat?!) The only think left to mention is chickens. She had chickens in her back yard and they are the cutest little critters. They greeted us with little cooing chicken sounds and gave us tasty fresh eggs. In my next house I'm getting chickens. Especially a Buff Orpinton. (My favorite chicken!)  Comments welcome and happy quilting everyone!! |
Cathy-I was researching landscape quilts and found your work. Wow!! just simply amazing. I run a blog link up for art quilters - call Off the Wall Friday. I wanted to invite you to link up this post with us if you wish (its open through Monday night). Please feel free to link up any time you have a piece to share!
ReplyDeleteI'll check it out - thanks!
DeleteThank you for sharing your process - everything is so pretty. Sure would love to take your forest scenes class :D
ReplyDeleteI'm glad you like my work - thanks! Maybe someday I'll be teaching in a guild in your area! :)
DeleteP.S. Your new shelves & reorganized sewing room look fabulous!
ReplyDeleteThanks - sorry I didn't see this until nearly a year later, lol. You should see the mess it's in again... cleaning time is a good time to think about what's next though.
DeleteThe hardest part is finding a variety of leaves and colors for your tress. I have a lot of material and am no way organized like you. Mine are in tubs by color and one tub that is for weird patterns. I wish the organizing fairy would touch me with her wand...lol! Thanks for sharing, I might have to try strip landscapes sometime in the future.
ReplyDeleteOh my gosh - I just looked over this blog from a couple of years ago and my fabric shelves are so organized and neat! You wouldn't believe what they look like now, lol!!!!
DeleteIt's hard finding good leaf fabric - it was hard to find it when my first book came out 10-15? years ago. It's just as hard now. I wish a manufacturer/designer would ask those of us who make landscapes what we need!
I actually love working with strips - you can make your landscape so dynamic by adding in lots of color. Have fun!
Oh, if I contact the Organizing Fairy I'll send her your way if you contact the Cleaning Fairy and send her my way. :)
Mary what fabric did you use for the pine trees?
ReplyDeleteIt was a deep green tone on tone print made by Jinny Beyer for RJR. Alas, it is long gone. Usually I prefer batiks for applique but I couldn't find the right deep green.
Delete